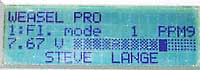
Main screen turn on. This is the default screen,
showing model selected, voltage, etc. We need to go into the menus...
 |
|
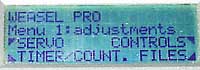
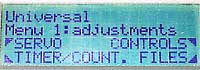
Menu 1. We're going to FILES in order to create a new model
memory.
 |
|
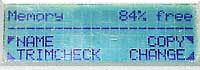
We got to CHANGE in order to switch from the current model memory
(Weasel Pro) to a new, blank model memory...
 |
|
The word "---EMPTY---" was blinking here, indicating a new
blank model memory, but my timing was off and I didn't catch the
test. Regardless I pressed R all the same...
 |
|
There are a number of templates available, but we don't want no
steeenking templates, we want freedom! Hence the choice of UNIVERSAL
- No Presets. Perfect.
 |
|
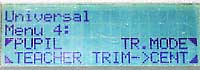
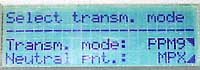
Next we hop over to Menu 4, and select TR. MODE (transmission mode)
 |
|
The default transmission mode is PPM9 and Multiplex (MPX) centers, we
want "Other" centers as we are using Hitec servos and a Futaba
receiver...
 |
|
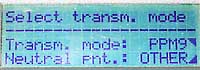
There we go, OTHER.
 |
|
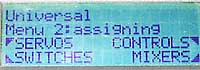
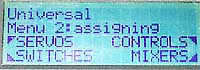
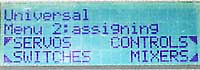
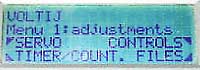
Now on to Menu 2 for some control assignments! Moving right along then,
aren't we?
 |
|
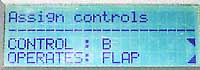
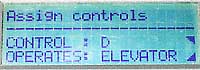
This is quite straightforward... you just say which control (i.e. stick,
or slider, or switch, or whatever) you want to control what function.
What a novel concept!!!
 |
|
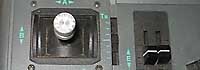
They even label the widgets for you! What lovely people the Germans are!
 |
|
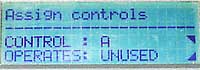
Control B (throttle stick)...FLAPS please!
 |
|
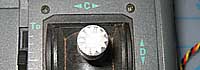
Now on the the right stick...look, labels here too! How simple can it
be??
 |
|
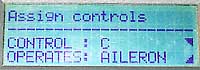
I'll take my ailerons on control C please...
 |
|
...and my elevator on D. Splendid!
 |
|
Sha-boom! On to the servo assignments! SERVOS it is.
 |
|
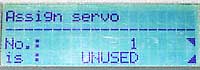
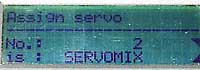
Servo 1 (i.e. the servo located in plug position #1 on your receiver)...UNUSED
for now, but not for long!
 |
|
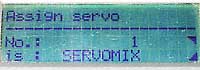
We want this to be a flaperon with snapflap abilities, and while there
are some pre-made mixes that allow this, we don't want no steeenking
premade crap, we want TOTAL CONTROL. Hence, we choose a Servomix and
define everything ourselves!
 |
|
Same goes for this servo (aileron #2). Yes, you can have both your ailerons
on channels 1 and 2 if you want...or whatever you like. It don't
matter, it's all up to whatever you want. THE WAY IT SHOULD BE!!!!!!
 |
|
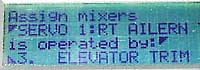
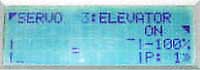
And we'll assign servo 3 to elevator. You can have it be ELEVATOR
or ELEVATOR TRIM, we want
ELEVATOR TRIM so the trim lever will be effective.
 |
|
Next we bounce back to Menu 2 and select MIXERS so that we can do our
flaperons/snapflap mixing...
 |
|
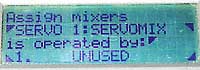
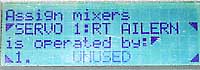
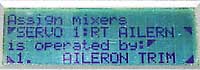
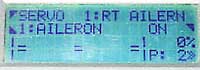
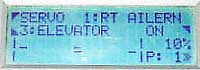
OK, the assign mixers page. We assigned the servos 1 & 2 to servomixes,
now we define those mixes... this is servo 1, so we will rename the servomix
from SERVOMIX to RT AILERN...
 |
|
Very nice! Now on to the input mixing...
 |
|
First off, aileron trim. Boom!
 |
|
Next mixer input...Flaps. It's good!
 |
|
Last mixer input...elevator (for the snapflaps). Voila! What could be
easier??
 |
|
And now we repeat for servo 2...takes what, maybe 10 seconds to do each
servo? Easy like pie!
 |
|
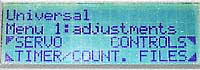
With the mixers done, it's on to Menu 1 to setup our servo curves...whoopee,
the home stretch! I've got a total of about 5 minutes of actual
programming time invested at this point...and about 25 minutes of typing & picture
uploading time! L
 |
|
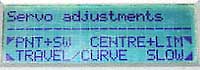
OK, we want TRAVEL/CURVE...but note the options... i.e. 3,5,7,9,13pt.
curves... ahh, life really can be THIS GOOD!
 |
|
For now, no fancy curves needed. First we set up our servo #1... because
we did the RT AILERN servomix, we'll have three curves to adjust:
Aileron, Flap, and Elevator. Each defines how much the servo will move
in response to each control input.
 |
|
For ailerons, I want total movement...so +100% on one side, and -100%
on the other. Can be easily reversed as needed by pressing the R key...
 |
|
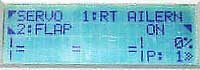
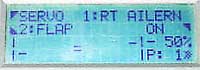
Next control input, the flaps. Starts off at zero, I'm going to
be doing "4 axis" flying, so I'll leave zero in the center
and make it +50% and -50% at either end of the flap stick travel, respectively.
 |
|
Boom, it's done! So darn easy it makes me wanna smack myself.
 |
|
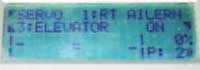
Next up, snapflap elevator control input. This lets me set up how much
the aileron moves in response to elevator input. I'm going +10%
and -10% for now, can tweak as needed later...
 |
|
Boom, it's done. Having set up servo 1, we do the same for servo
2. Takes another, oh, 30 seconds?
 |
|
Now on to the elevator. I'll adjust this later, so for now it's
+100% and -100%.
 |
|
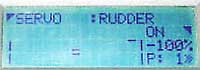
Lastly, rudder. +100% and -100% for now, will tweak later. Zee programming
eeees done!!! Woooooooot!
 |
|
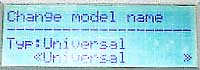
One last thing to do...let's name the model memory, no? Back to
Menu 1, select FILES and then NAMES
 |
|
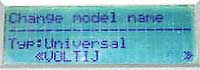
NAMES brings you to this screen. UNIVERSAL is the default name for UNIVERSAL
model types, but we want it to read VOLTIJ instead...
 |
|
Voila! Tres Bien!
 |
|
Eh, supercool, non?
 |
|
Move my happy little servos, move like the wind!
 |
|